Marine Knots That You Need To Know!
Published by Chris Riley in Nautical Knots Last updated on July 12, 2022
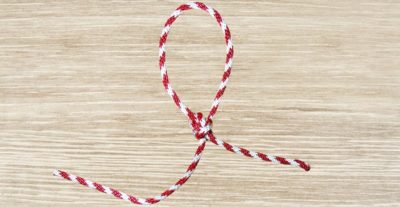
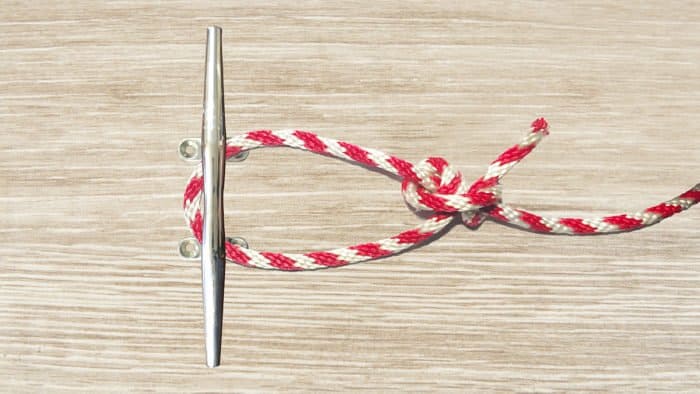
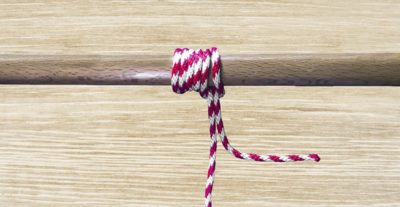
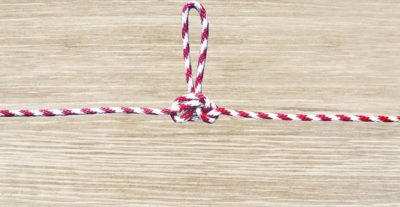
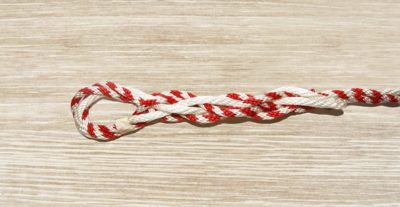
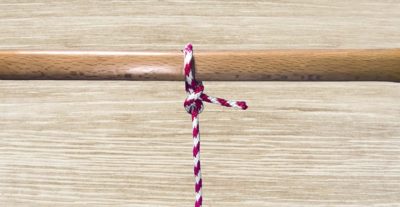
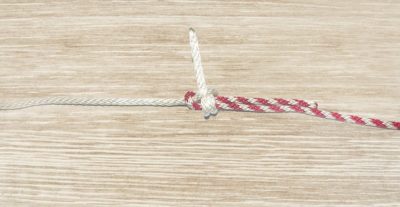
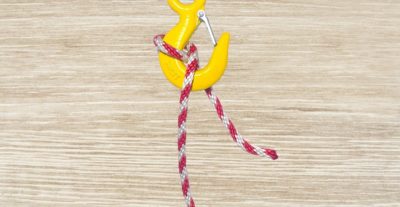
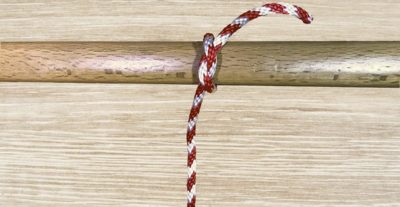
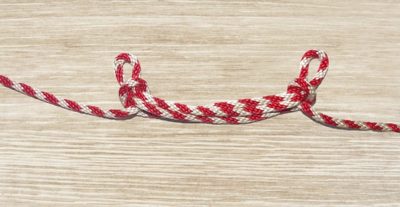
Running Bowline
Won't bind or slip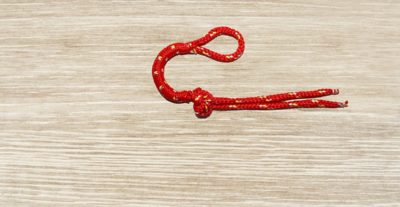


All sailors should have a good grasp of how to tie boat knots. Knot-tying and boating go hand in hand, and knowing how to properly tie a knot will make life on the water easier. Marine knots can be used for mooring, securing loads, moving cargo, and saving lives. In fact, they can be used for so much more than just those purposes.
Knots are such an important part of boating that you’ll need to know them if you’re planning on taking your USCG license exam. You won’t be expected to actually tie knots, but you will find several questions concerning the names of knots and their intended use. On this page, we’ve put together a list of some of the most important nautical knots and their purposes, with links to in-depth guides that will teach you how to tie them.
Essential Sailing Knots That Every Boater Should Know
The marine knots that we’ve curated here are just a selection of hundreds of nautical knots and their variations that are available to boaters. However, we’ve found that these boat knots are among the most useful, and every good sailor should try and learn them all.
Do make sure that you’re learning to tie your knots with the right type of rope before you get started. Ropes for marine use must be tough and durable. Since these lines will be used to secure heavy objects and battle the elements, they need to be extra strong.
Typical Boat Knot Usage: Mooring
When you’re on your boat, there will be plenty of reasons to tie knots. However, the most popular task that requires knot tying is mooring. Mooring ropes are made of top-quality polyethylene materials, including Vectran and Dyneema, or Dacron and Terylene. They’re lightweight and can float on water, but they’re also very strong. To correctly moor a vessel you’ll need to familiarize yourself with the correct lines as well as the correct knots required. Here’s a brief overview of the lines required.
- Bow Line
- Forward Bow Spring
- Forward Breast Line
- After Bow Spring
- Forward Quarter Spring
- Quarter Breast Line
- After Quarter Breast Line
- Stern Line
On larger vessels, a combination of lines is often required to make a secure mooring. These lines are taken from the list above, moving from the bow to the stern. Smaller yachts have a similar arrangement, though there’s likely to be a crossover of lines in the middle. The most important mooring lines to remember are these:
Breast Lines: Breast lines are there to prevent a vessel from rotating. For the best results, they should run almost 90-degrees from the bow or stern to the dock.
Spring Lines: Spring lines, are similar to the breast lines, but they are there to prevent fore and aft movement. They should run as parallel to the dockside as possible. It’s very likely that a bow spring line and a stern spring line cross each other.
Note: The spring lines can be attached in a forward or aft direction, but they must lead in opposite directions to each other. For example, if your bow spring line leads forward, your stern spring line must lead aft.
Key Knot Tying Terminology
If you want to be the best at tying knots, you need to be sure you can tie these types of knots using the right tools, under any circumstances. Since different ropes have different characteristics, they can affect how a knot is tied, so take the time to familiarize yourself with the materials in rope construction, and some of the terms used to describe the different parts of a rope, as well as the main terms used in knot tying. Here are some frequently used terms.
Working End: the working end is the end of a line that is used for tying.
Standing End: the longer part of a line that is fixed during the tying of a knot.
Bitter End: the free end of the line.
Loop: a circle of rope made by bringing two parts of the rope together without crossing them over each other.
Turn: a loop formed around a post, rail, or the line itself.
Bight: the part of the rope between the end and the standing part. A loop formed by folding the rope back on itself.
Eye: a loop made in the end of a rope either by knotting, seizing or splicing.
Splice: weaving strands of a line to itself or to a second piece of line.
Whipping: wrapping twine or tape around line to line’s end to prevent unraveling.
The Different Types Of Knots For Different Tasks
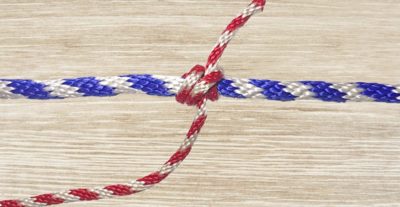
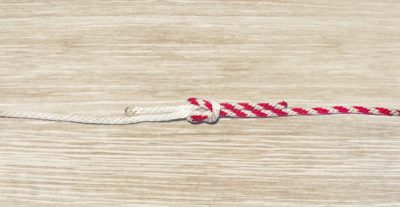
Knots For Joining Two Ropes Together
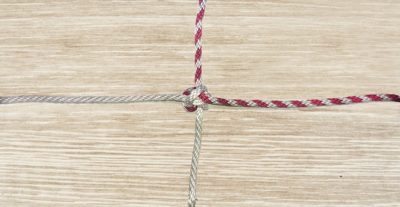
Strong and reliable bend for two ropes
Secure and reliable bend for two ropes
Securing a rope to a taut line
Securing 2 ropes with a loop at each end
For securing lines of large diameters
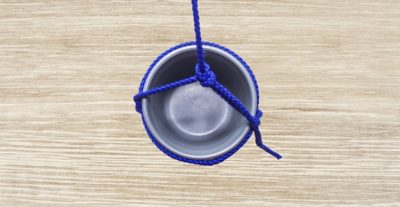
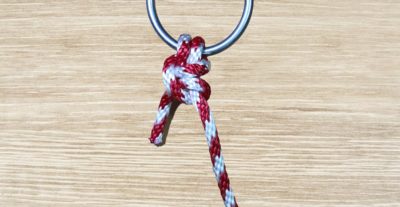
Mooring Knots
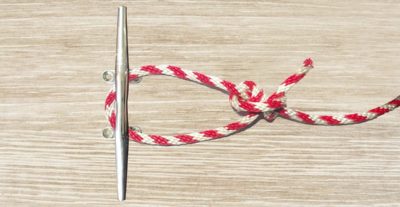
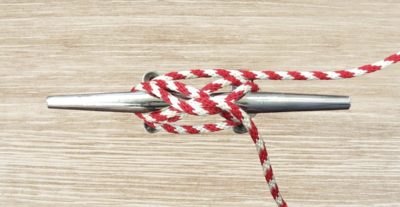
For securing a line to a cleat
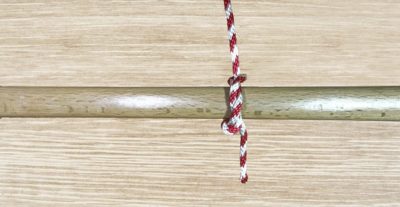
For wrapping a line around a post
A strong loop to throw over a piling
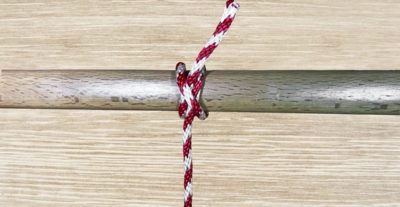
For securing a small boat to a railing
Making Loops At A Rope’s End
For making a strong loop
For making an adjustable loop
Making an eye splice
Making Loops In The Middle Of A Line
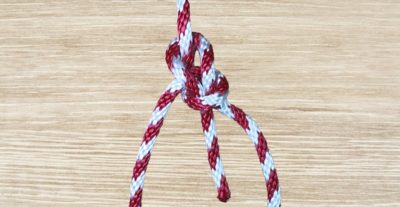
For making a single loop in a line
For making a double loop in a line
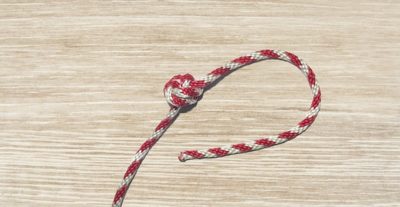
Practical Nooses
For making a sliding bowline
For making a useful noose
Attachment Knots
For attaching a Halyard
An alternative Halyard hitch
For attaching a line to an anchor
Throwing Knots
Stopper Knots
For making a secure stopper knot
For making a quick, practical stopper knot
Knots To Secure Flapping Material
For securing sheets
For securing almost anything
For securing heavy loads
Friction Knots
A knot that grips onto lines
A knot that grips onto rails
A knot that grips onto a pole
Categories: Nautical Knots